 by
by In this lesson, we would cover how to install and setup Elm compiler. You will learn how to setup Elm, in Windows, Mac and Linux.
The following is covered:
1. Local Environment Setup
Step 1 – Install Node.js. You simply need to download Node.js from here and how to setup Node.js here.
Complete Node.js tutorial can be found here
Step 3 – Install Elm. You install Elm easily using the npm command below:
npm install -g elm@latest
After the installation you can verify using the command
elm --version
This command would display the version of elm installed
2. Elm IDE Setup
The IDE of choice for Elm programming is either Visual Studio Code (VS Code) or IntelliJ.
Elm on IntelliJ
To use Elm with IntelliJ, you need to add the Elm plugin to IntelliJ. Follow the steps:
Open IntelliJ. Go to Preferences from the IntelliJ menu. Click on Plugins. Then you can find Elm plugin. Then install it. See screenshot below:

Elm in VS Code
Similarly, you need to add the Elm plugin for VS Code if you choose to use the VS Code IDE. You can get this from the Extensions window in VS Code. See Screenshot below.

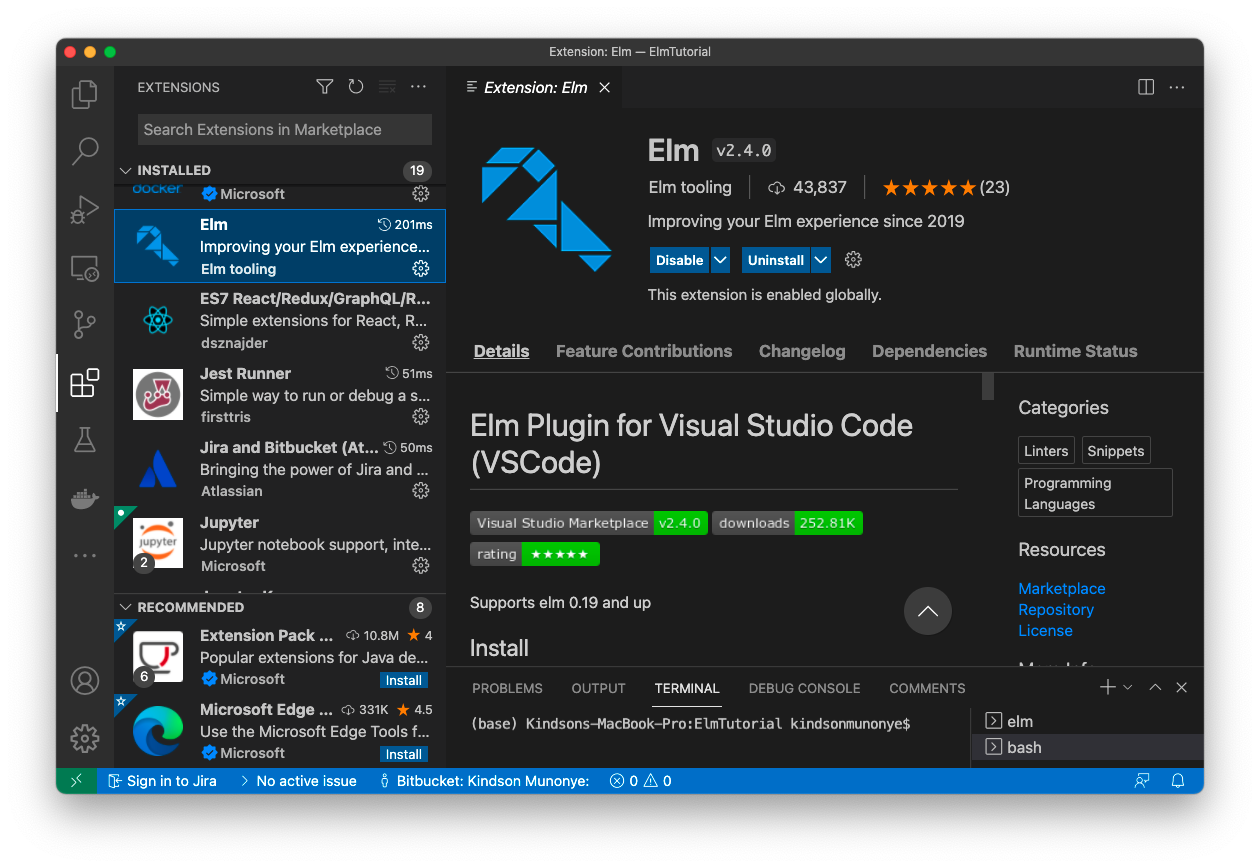
If you are using a later version of VS.Code, then you will have to install the Elm Tooling extension. The window is shown below:
3. Elm REPL
REPL is an acronym for Read Eval Print Loop. It allows you to execute program in an interactive manner just like in command prompt.
- So the system Reads some input,
- Evaluates it
- Prints the output
- then waits for the next input.
To access the repl in Elm, open your command prompt and enter the command
elm repl
You can then play around by entering different expressions to see what output you get.
