
 by
by In this lesson we are going to use Entity Framework(EF) with MVC(Model-View-Controller) to carry out select, insert, update and delete operation. We would see the forms and tables generated easily for us, without writing codes.
Believe me, this is would be the easiest lesson so far in this series! I personally could not believe it when I saw it work like magic!
Let’s do this!
We are going to cover the following:
1. Create an Web Application Using Web API Template.
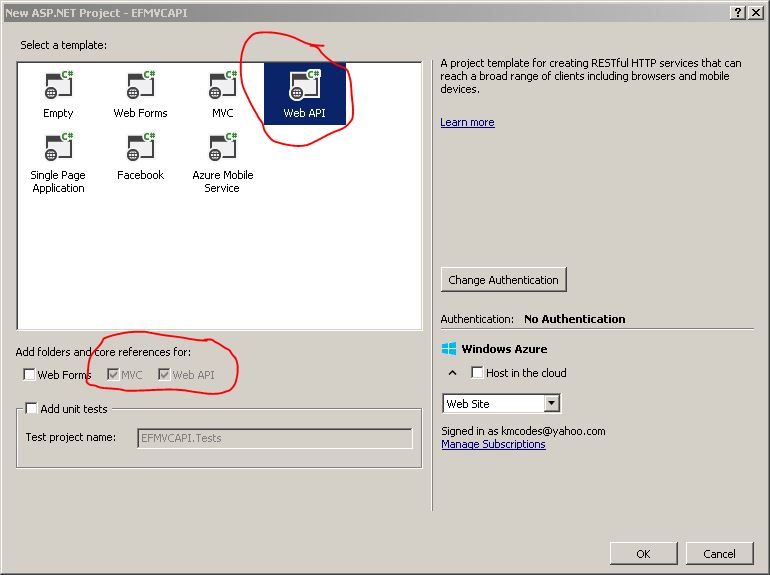
This is similar to the steps we followed in Tutorial 8 except that if you get to the dialog box in Figure 1, you make sure that Web API is selected
Also make sure that the boxes for Web API and MVC is selected as shown
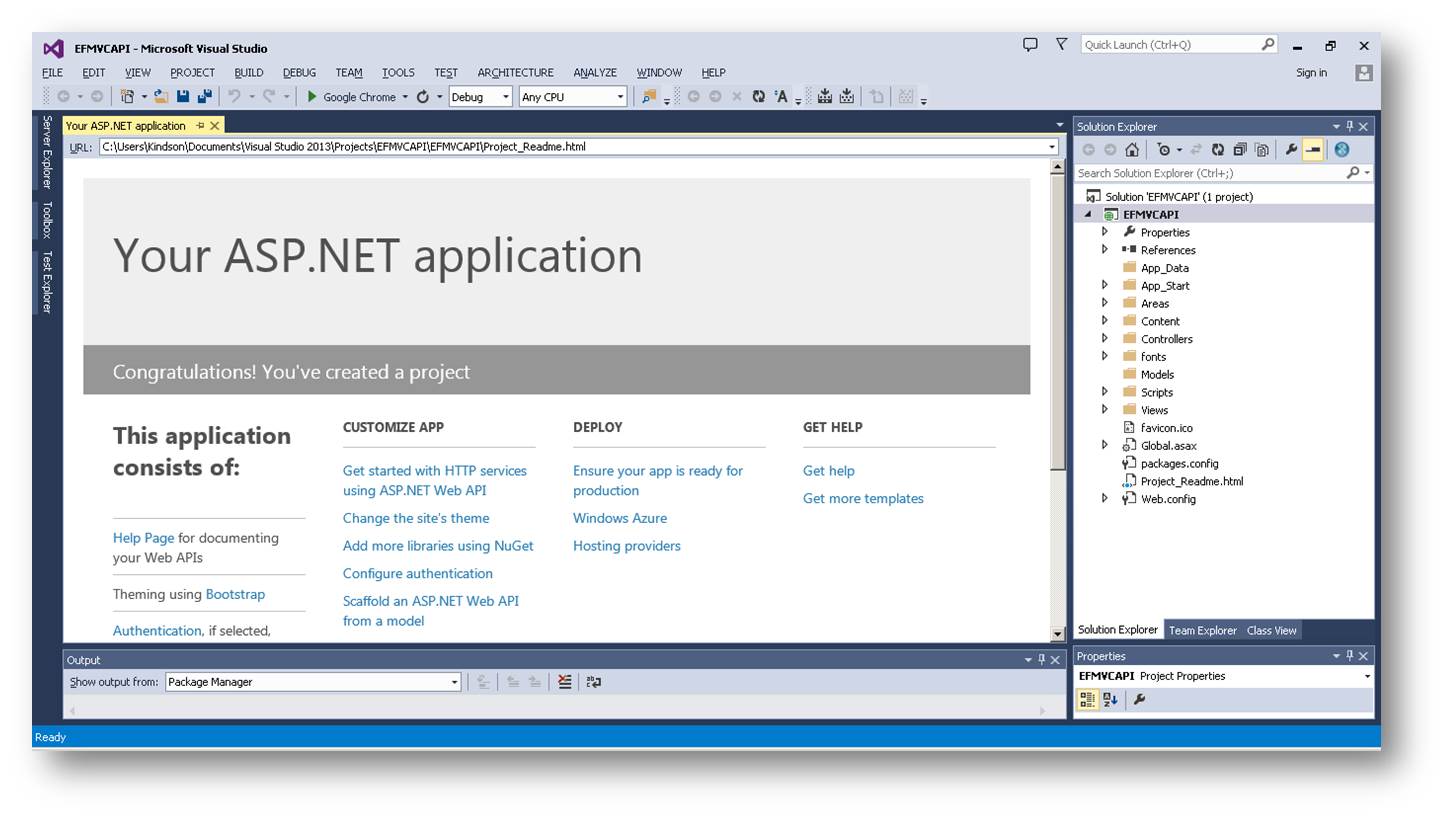
After a few seconds, the solution is generated as shown in Figure 2
2. Learn about the folder structure
The folder structure for an MVC application always contains the folders: Model, View and Controller
Model: This folder contains the classes for your entities – which corresponds to tables in your database.
View: This Folder would contain subfolders which contains pages for each of entity for your application. For each of the table, there would be a folder. For each folder there would be five cshtml pages:
- Create.cshtml
- Details.cshtml
- Edit.cshtml
- Delete.cshtml
- Index.cshtml
Controller: This folder contains the controller files for each of the the model (table). The controller file controls how the data from the table is access and displayed on a web page.
For now, these are the three folders you need to understand very clearly. This is because this same concepts is used in MVC architecture for other platforms like Java(using Eclipse IDE or any other IDE)
3. Generate the Models
Before you continue with this step, make sure you have create the Employee database in SQL Server.
Right-click on your project and Add new Item.
Choose Data and Select ADO.Net Entity Data Model
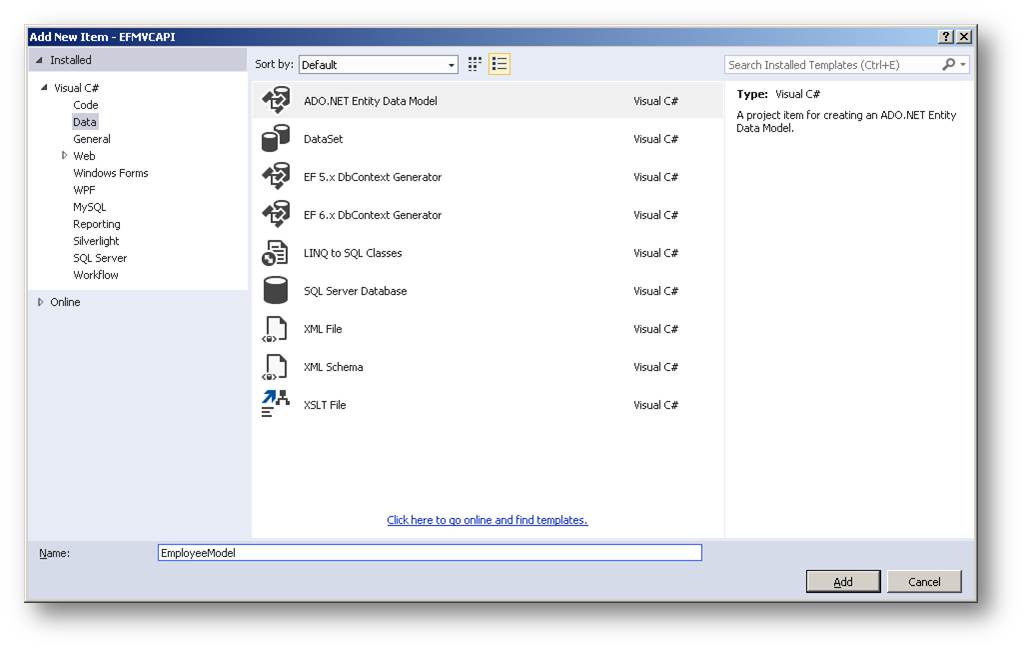
Give it a name and Click Add. The Entity Data Model Wizard is displayed as shown in Figure 3
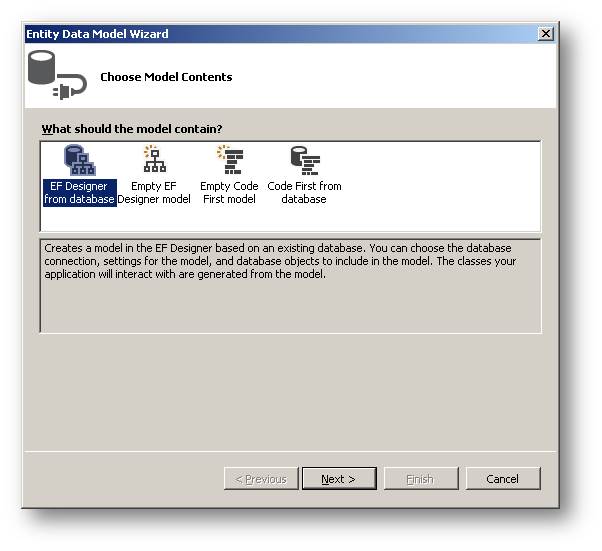
Make sure that the EF Designer From database is selected. Click on Next to display the Database Connection definition step.

Click on New Connection and specify the New Connection properties. In Figure 5, the Connection Properties have been defined.
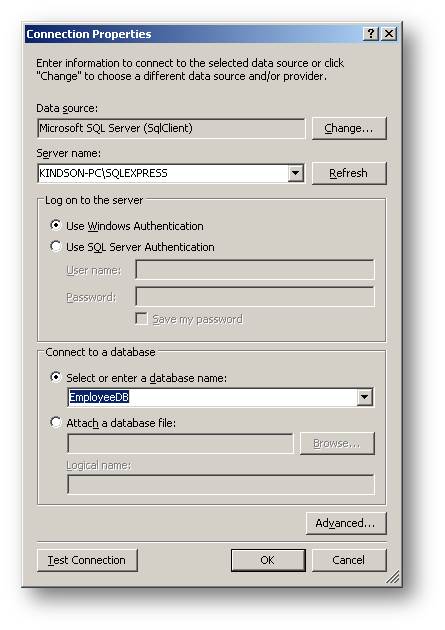
After defining the new Connection, Click OK, then Click Next.
Click on Next again. When you get the the last step of the Wizard, Select Tables as shown in Figure 7.
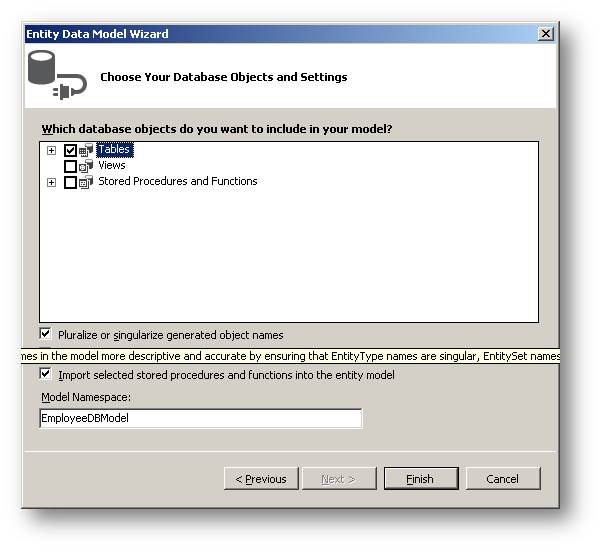
Click Finish. The class diagram is generated as shown in Figure 8
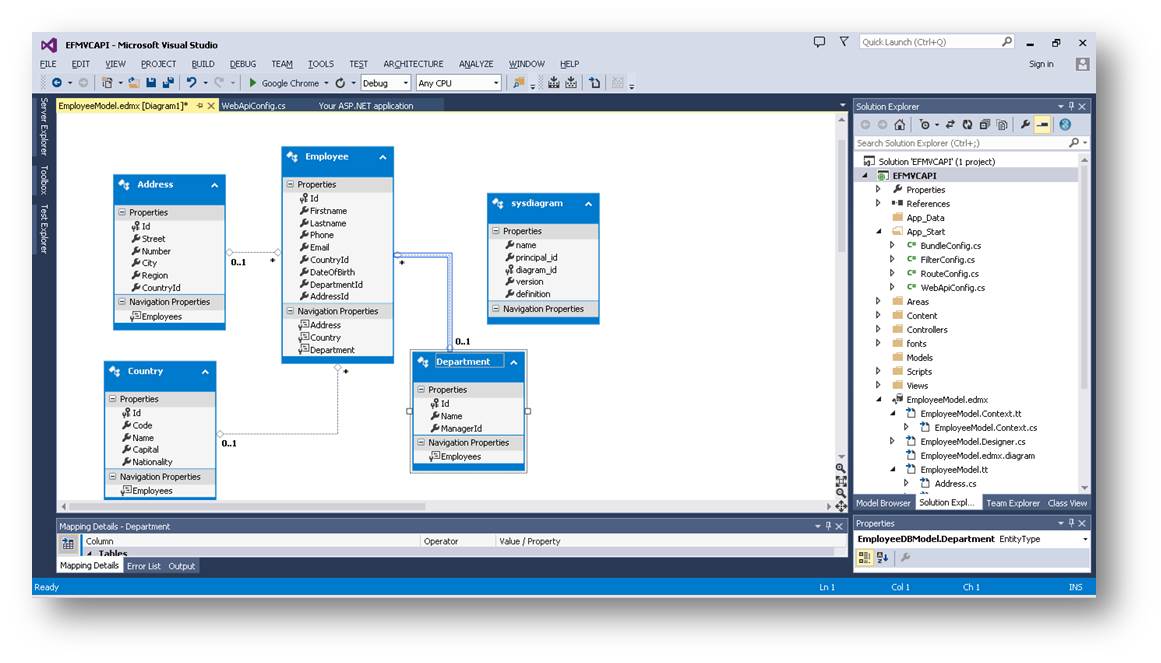
Examine the Classes generated. Expand the EmployeeModel.edmx to view the classes generated for each of the tables.
   public partial class Address
    {
        public Address()
        {
            this.Employees = new HashSet<Employee>();
        }
public int Id { get; set; }
public string Street { get; set; }
public string Number { get; set; }
public string City { get; set; }
public string Region { get; set; }
public Nullable<int> CountryId { get; set; }

public virtual ICollection<Employee> Employees { get; set; }
}
Listing 1: Generated Class Address
For example, the generated class for the Address table is given in Listing 1. Isn’t this amazing! All codes written for us. Thanks to Entity Framework!.
